Mac users - Create a narrated video using PowerPoint
Find out how to add narration to your PowerPoint presentations.
What you'll need
- A microphone to record your voice.
- Headphones or speakers to listen back to your audio.
- A built-in camera or webcam if you need to appear on-screen.
- The desktop version of PowerPoint (the web version can’t record narration).
- You can download Microsoft 365 desktop apps for free on up to five devices using your University account. See our video for instructions.
Before you start recording
- Read your Assessment Guidance document carefully so that you understand the requirements and can ensure your video meets them.
- Test your setup early. Do a quick recording on your title slide (with your camera on if needed). Play it back to check that the sound and video quality are good.
- Confirm that you can save your recording as a mp4 file and play it back.
Recording tips
PowerPoint records narration one slide at a time, which helps you:
- Re-record only the slide you want if you make a mistake.
- Re-order your slides without losing any narration.
- Pause between slides and take breaks while recording.
- When recording each slide, pause for a second before you start speaking and for another second when you finish. This makes slide transitions smoother in the final video.
Saving and uploading your video
- When you export your video, choose HD 720p.
- Make sure your final file is under 1 GB.
- Uploading large files to Blackboard can be slow. If your home internet struggles, try uploading on campus for faster speeds.
- Plan ahead - give yourself plenty of time to record, export, and upload before the deadline.
How to record your narration
Although the appearance of PowerPoint may vary slightly across different devices and versions, the core features remain consistent.
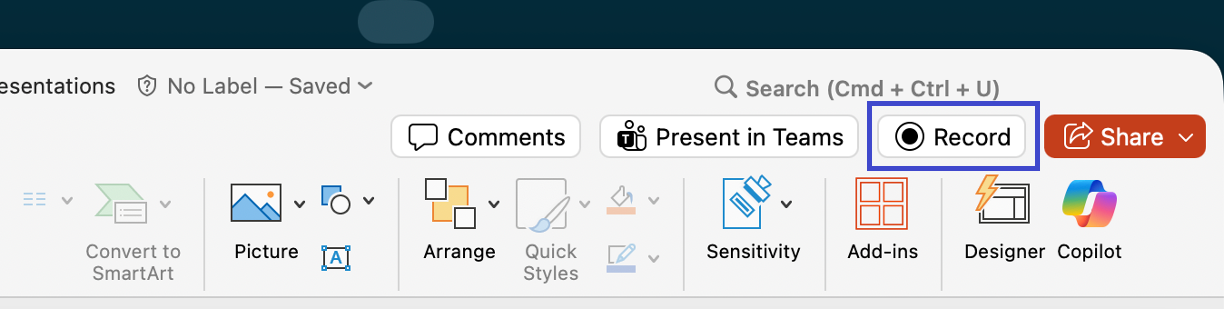
- Open your presentation file in the desktop version of PowerPoint and choose the Record button in the top right of the screen. If prompted, give permission to use the microphone and camera.
- Make sure your microphone is switched on.
- Switch on your camera if required. Blur Background is an option for privacy.
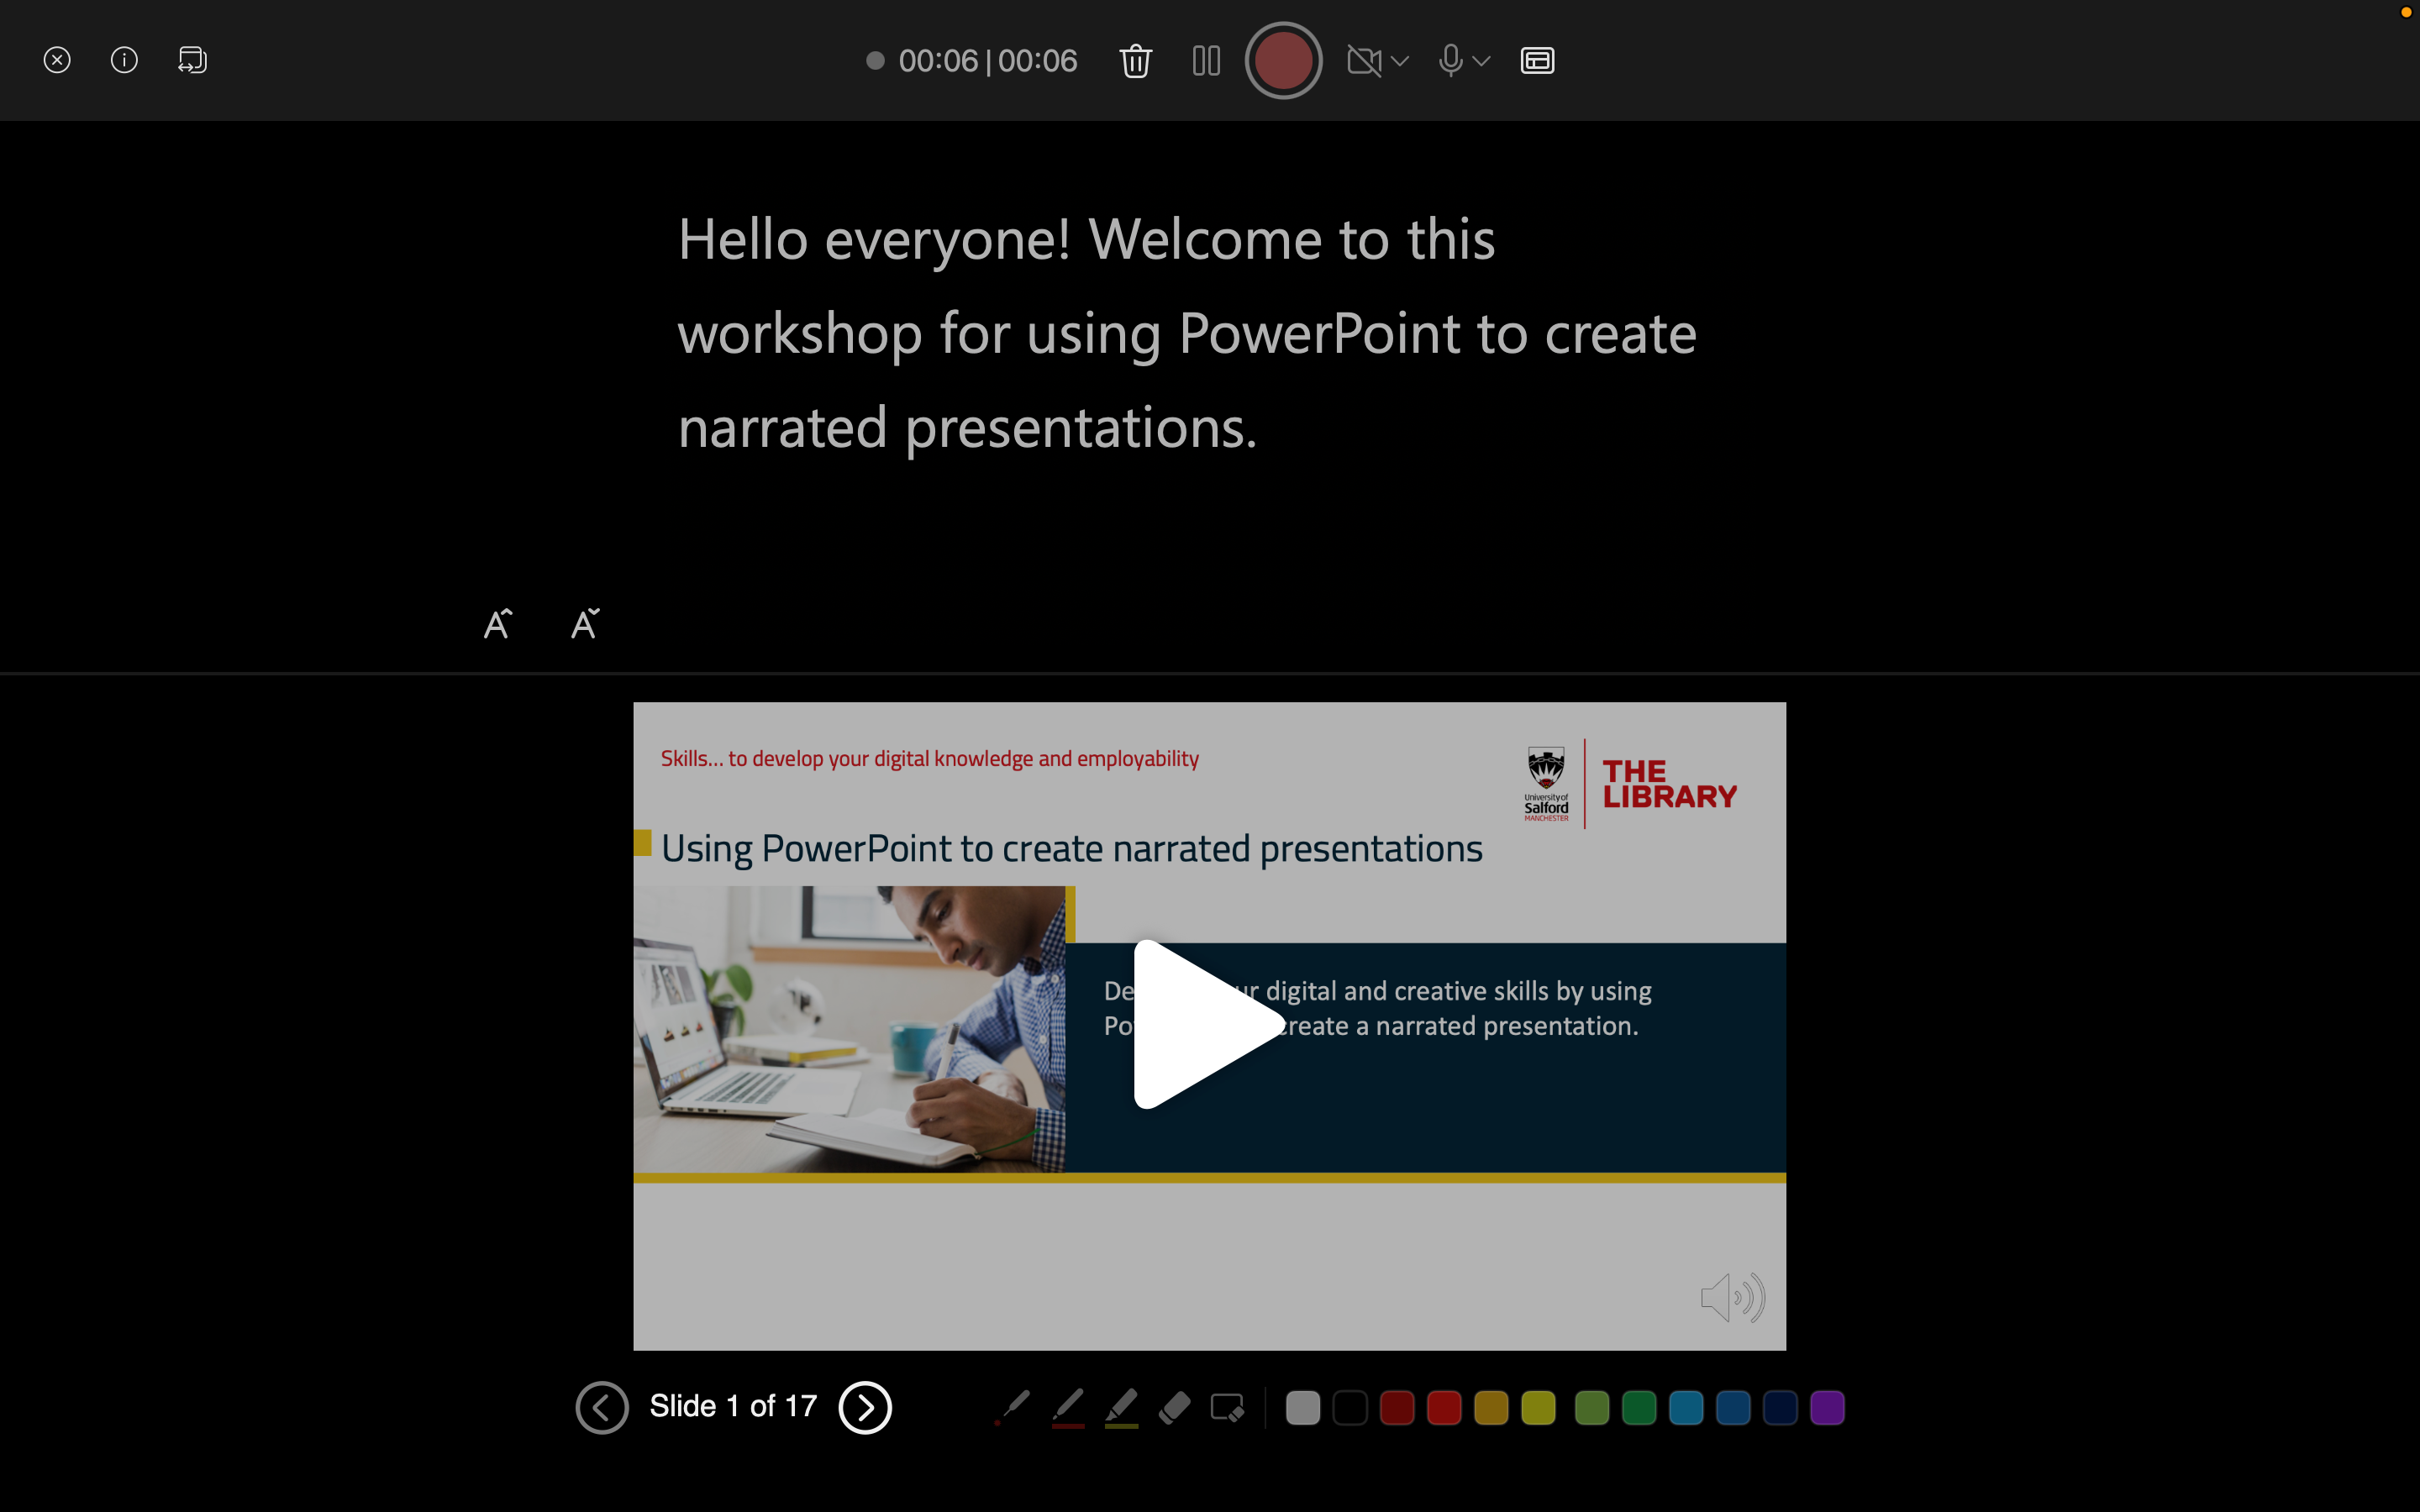
- Select the Views icon and choose Teleprompter View or Presenter View. If you've added information in the Notes area of PowerPoint, they'll appear for you like a teleprompter as you record.
- Use the central red Record button to start recording and start speaking after the countdown.
- You can use the on-screen laser pointer, coloured pens, or highlighters to mark up your slides during recording and this activity will be recorded too.
- Select Stop to finishing adding narration for the slide. The Pause button is useful for a quick break – just select Resume recording to continue.
- Review your recording by selecting the Play button. A speaker icon will appear on the slide.
- Repeat this recording process for each slide in your presentation, using the Advance and Return buttons to navigate between your slides.
- You can delete the recording for the slide on display by selecting the Trash can icon. Select the Record button to add new narration to the slide.
- The Timestamps area shows the narration timing for the slide on display and for the overall recordings for the whole presentation. It'll update as you add narration to your slides.
- Select the Close button to return to PowerPoint’s ‘Normal’ view.
Export/save your presentation as a video file
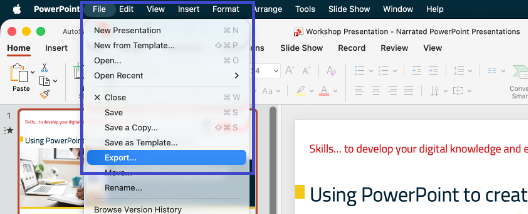
- Select the File tab and choose Export.
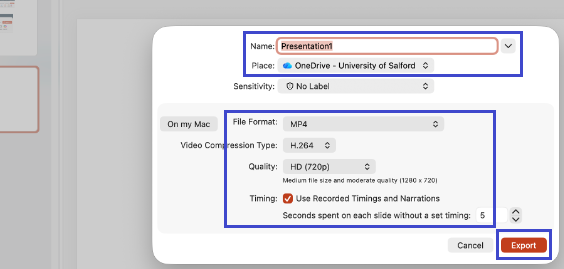
- You have the option to change the filename and where it's saved.
- Select MP4 as the File Format for your video file.
- Change the Quality to HD (720p). This video resolution setting reduces the size of the video file, and it's the University’s recommended video resolution.
- Your recorded narrations and their associated timings are automatically set by PowerPoint, so ensure the Timing button is selected.
- Select the Export button to save your changes. You'll see a progress bar in the bottom of the PowerPoint window as the file is generated.
- Check that your exported video can be played back and is in MP4 file format.